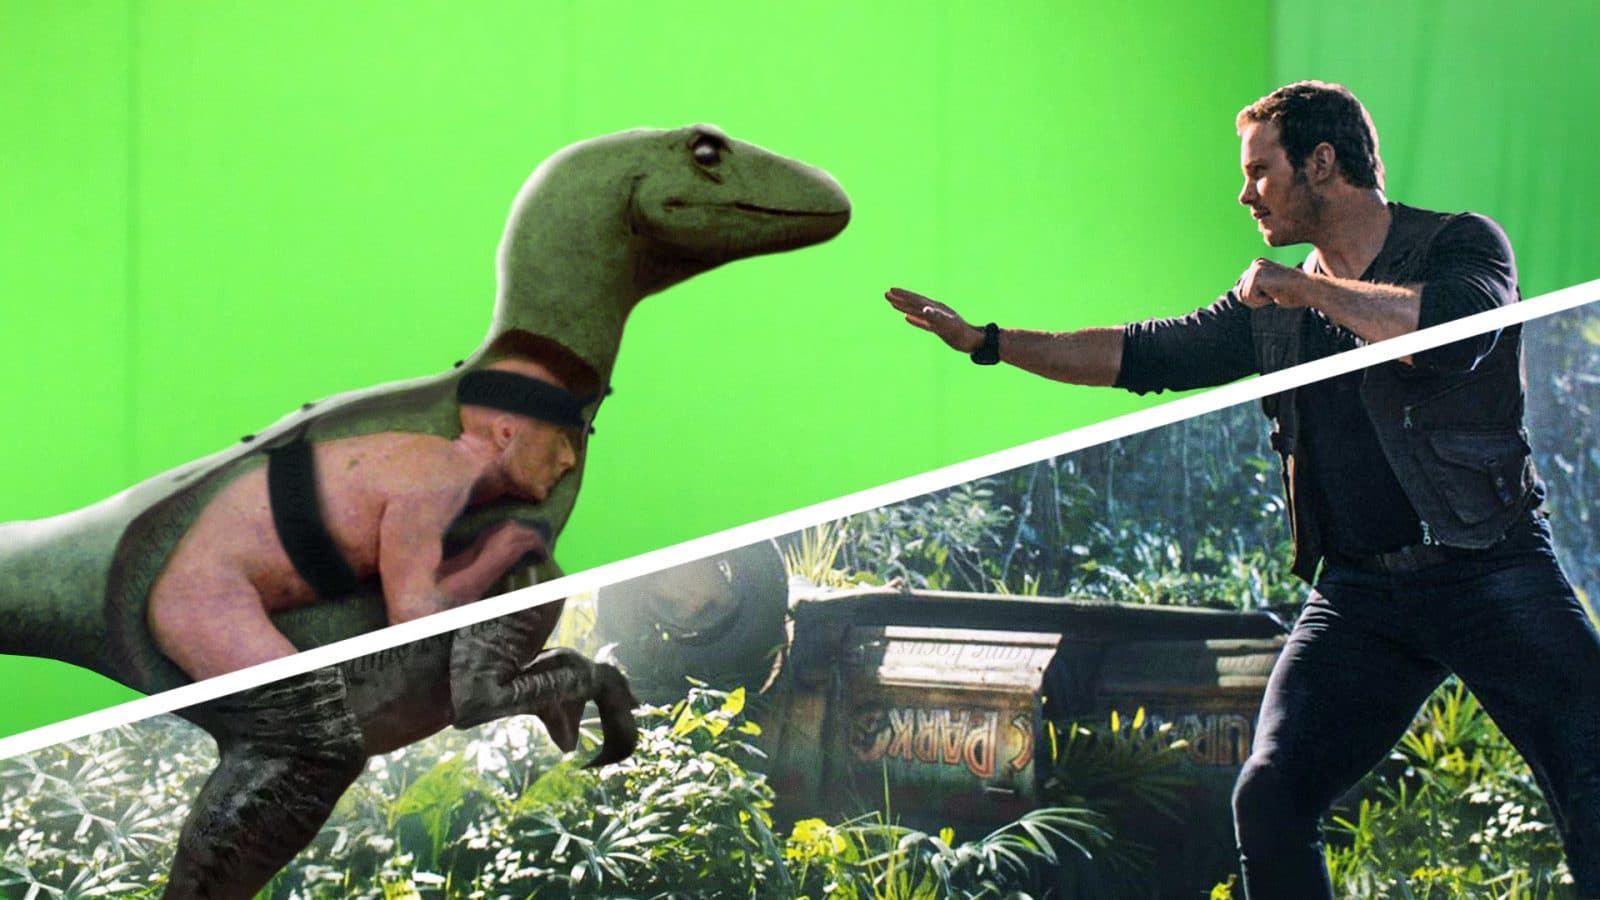
As a VJ who performs live visuals, adding green screen footage to your set can help you stand out. Shooting green screen footage can be tricky when done right, green screen can be an excellent way to add unique effects to your footage, when done incorrectly, it can be the bane of your existence. This article focuses on Practical Tips for working with Green Screen for perfect Keying so you don’t have to spend countless hours trying to salvage the footage. Lime Art Group has a massive collection of green screen footage which is perfect for mixing in your editing video or VJ sets. Professionally shot footage which can save you a ton of time shooting & editing raw green screen footage. To help you create the best possible footage and keying here are
5 practical tips to keep in mind while shooting green screen footage.
Camera Angles
You have an actor, a green screen backdrop and a camera. Generally, one naturally ends up shooting the actor straight on, which gives a flat look. Just like regular filmmaking is important to shoot with good angles, that brings the subject to life. A storyboard or block out the camera positions to get the best angles and good green screen footage.
Lighting
Inconsistent lighting is one of the main reasons that the viewer can point out that a shot was on green screen. The idea behind shooting green screen is to create an environment, eventually, you would add maybe 3D elements or other graphics behind the subject. True green screen should be lit evenly, and appropriate amounts of light on the subject.
Think about where is main light coming from? Is it behind the subject, in front of the subject, above, below? Plan your lights accordingly. Keep in mind the ultimate frame, is it a scray scene, happy scene? That way you will be able to create the best lighting setup for your green screen shoot.
Planning
When shooting green screen, you want to be super prepared. Know how to key properly. Know your camera angles. Storyboard them or previs them so that everyone on the crew knows what you’re going for. Let the cinematographer know where the light source is coming from in each shot. Plan these scenarios. If everything is planned, you can shoot all the angles with the light source at position A consecutively. Then you can shoot all of position B and so on. But if you don’t plan, you may find yourself going back and forth for no reason.
Plan what the background is going to be before you even shoot. If possible, render these backgrounds out, or even a rough draft will help. Show this to the actors so they know where they are. Plan everything. And keep thorough notes on each shot. You can never be too prepared when shooting on a green screen. Shooting green screen is supposed to be an advantage. When done correctly, you can create really powerful images. Just know it is used to help advance the story, just like any other tool in filmmaking. With these 5 steps, choosing the right camera angles, appropriate lighting, using props and sets, using motivated blocking, and careful planning; you can dramatically advance the story you are telling with the use of a green screen. Go for it!
Top Green Screen Mistakes to Avoid
Shadows on the Green Screen
A shadow on your green screen can create a big problem. Since it’s difficult for the computer to key out shadows, especially if they are strong shadows, anything you try to do to eliminate it may also bleed into the subject that casts the shadow. Always try to avoid any shadows in your video frame. Another reason why professional lighting is crucial during green screen filming. To avoid shadows, add more lights, reconfigure your lights, or moving the subject away from the green screen so they cast fewer shadows or away from your filming frame.
Motion Blur
Most corporate or anchor-based video shoots, this probably won’t be a problem, usually, the subject is sitting in one place with little movement during the shoot. But if you have any fast action in your video, you will need to keep an eye out for motion blur. A motion blue problem happens, when the actor in your video is moving too fast for the camera to pick up against the green screen backdrop. To avoid this you will need to shoot at a higher frame rate say 120 fps and in post you interpret the footage at 30 fps and speed up the clip 4 times.
Green Screen Color Spill
Too much light on the green screen can cause a color spill, maybe you added lights to remove/reduce the shadows. With color spill you get green fuzzy edges around your object, as a result, the object looks like they have a green reflection on their skin. This is not ideal for a green screen shoot. Again you will have to understand professional lighting. A possible solution could be to reduce the intensity of the light closest to the screen, add a backlight to your subject and additional lights between the screen and subject. Move the subject away from the screen / change your camera angle/frame. Try to get an even light as much as possible.
Disappearing Green Screen Subject
Another common and obvious problem among amateurs is when the subject disappears into the background once the green screen is keyed out. This happens when the subject is wearing green or partly green colored clothes. While this may seem obvious, you would be surprised how many people forget to not have green in the video while shooting. However, if it’s necessary to have something green in the video like a product or company logo, you would want to switch to a blue screen as your background rather than green. Hope you enjoyed this article from Lime Art Group if you are looking for some easy to use high-quality green screen footage you can find it here.


