Color grading is a critical step in the post-production process that can truly transform a video’s visual storytelling. Among the numerous tools available for this purpose, DaVinci Resolve stands out due to its high-end color grading capabilities that have been used in many Hollywood productions. This article will guide you through the basics of color grading in DaVinci Resolve, delve into advanced techniques for creating stunning visuals, and help you master the art of color correction. Additionally, we will provide practical tips to elevate your color grading skills in DaVinci Resolve. Whether you’re a novice or an experienced editor, this comprehensive guide will equip you with essential knowledge to make your videos visually captivating.
1. “Understanding the Basics of Color Grading in DaVinci Resolve”
Color grading is a crucial process in post-production that can drastically enhance the visual aesthetics of your footage. When using DaVinci Resolve, a leading color grading and video editing software, it’s important to understand the basics of color grading to fully utilize its capabilities.
The first step to color grading in DaVinci Resolve is importing and organizing your footage in the Media Pool. This step involves dragging and dropping footage into the Media Pool or using the ‘Import Media’ option.
Once your footage is organized, the next step is to create a new timeline. A timeline is essentially a sequence of your footage that you can edit and color grade. In the ‘Edit’ tab, you can arrange and edit your footage before proceeding to color grading.
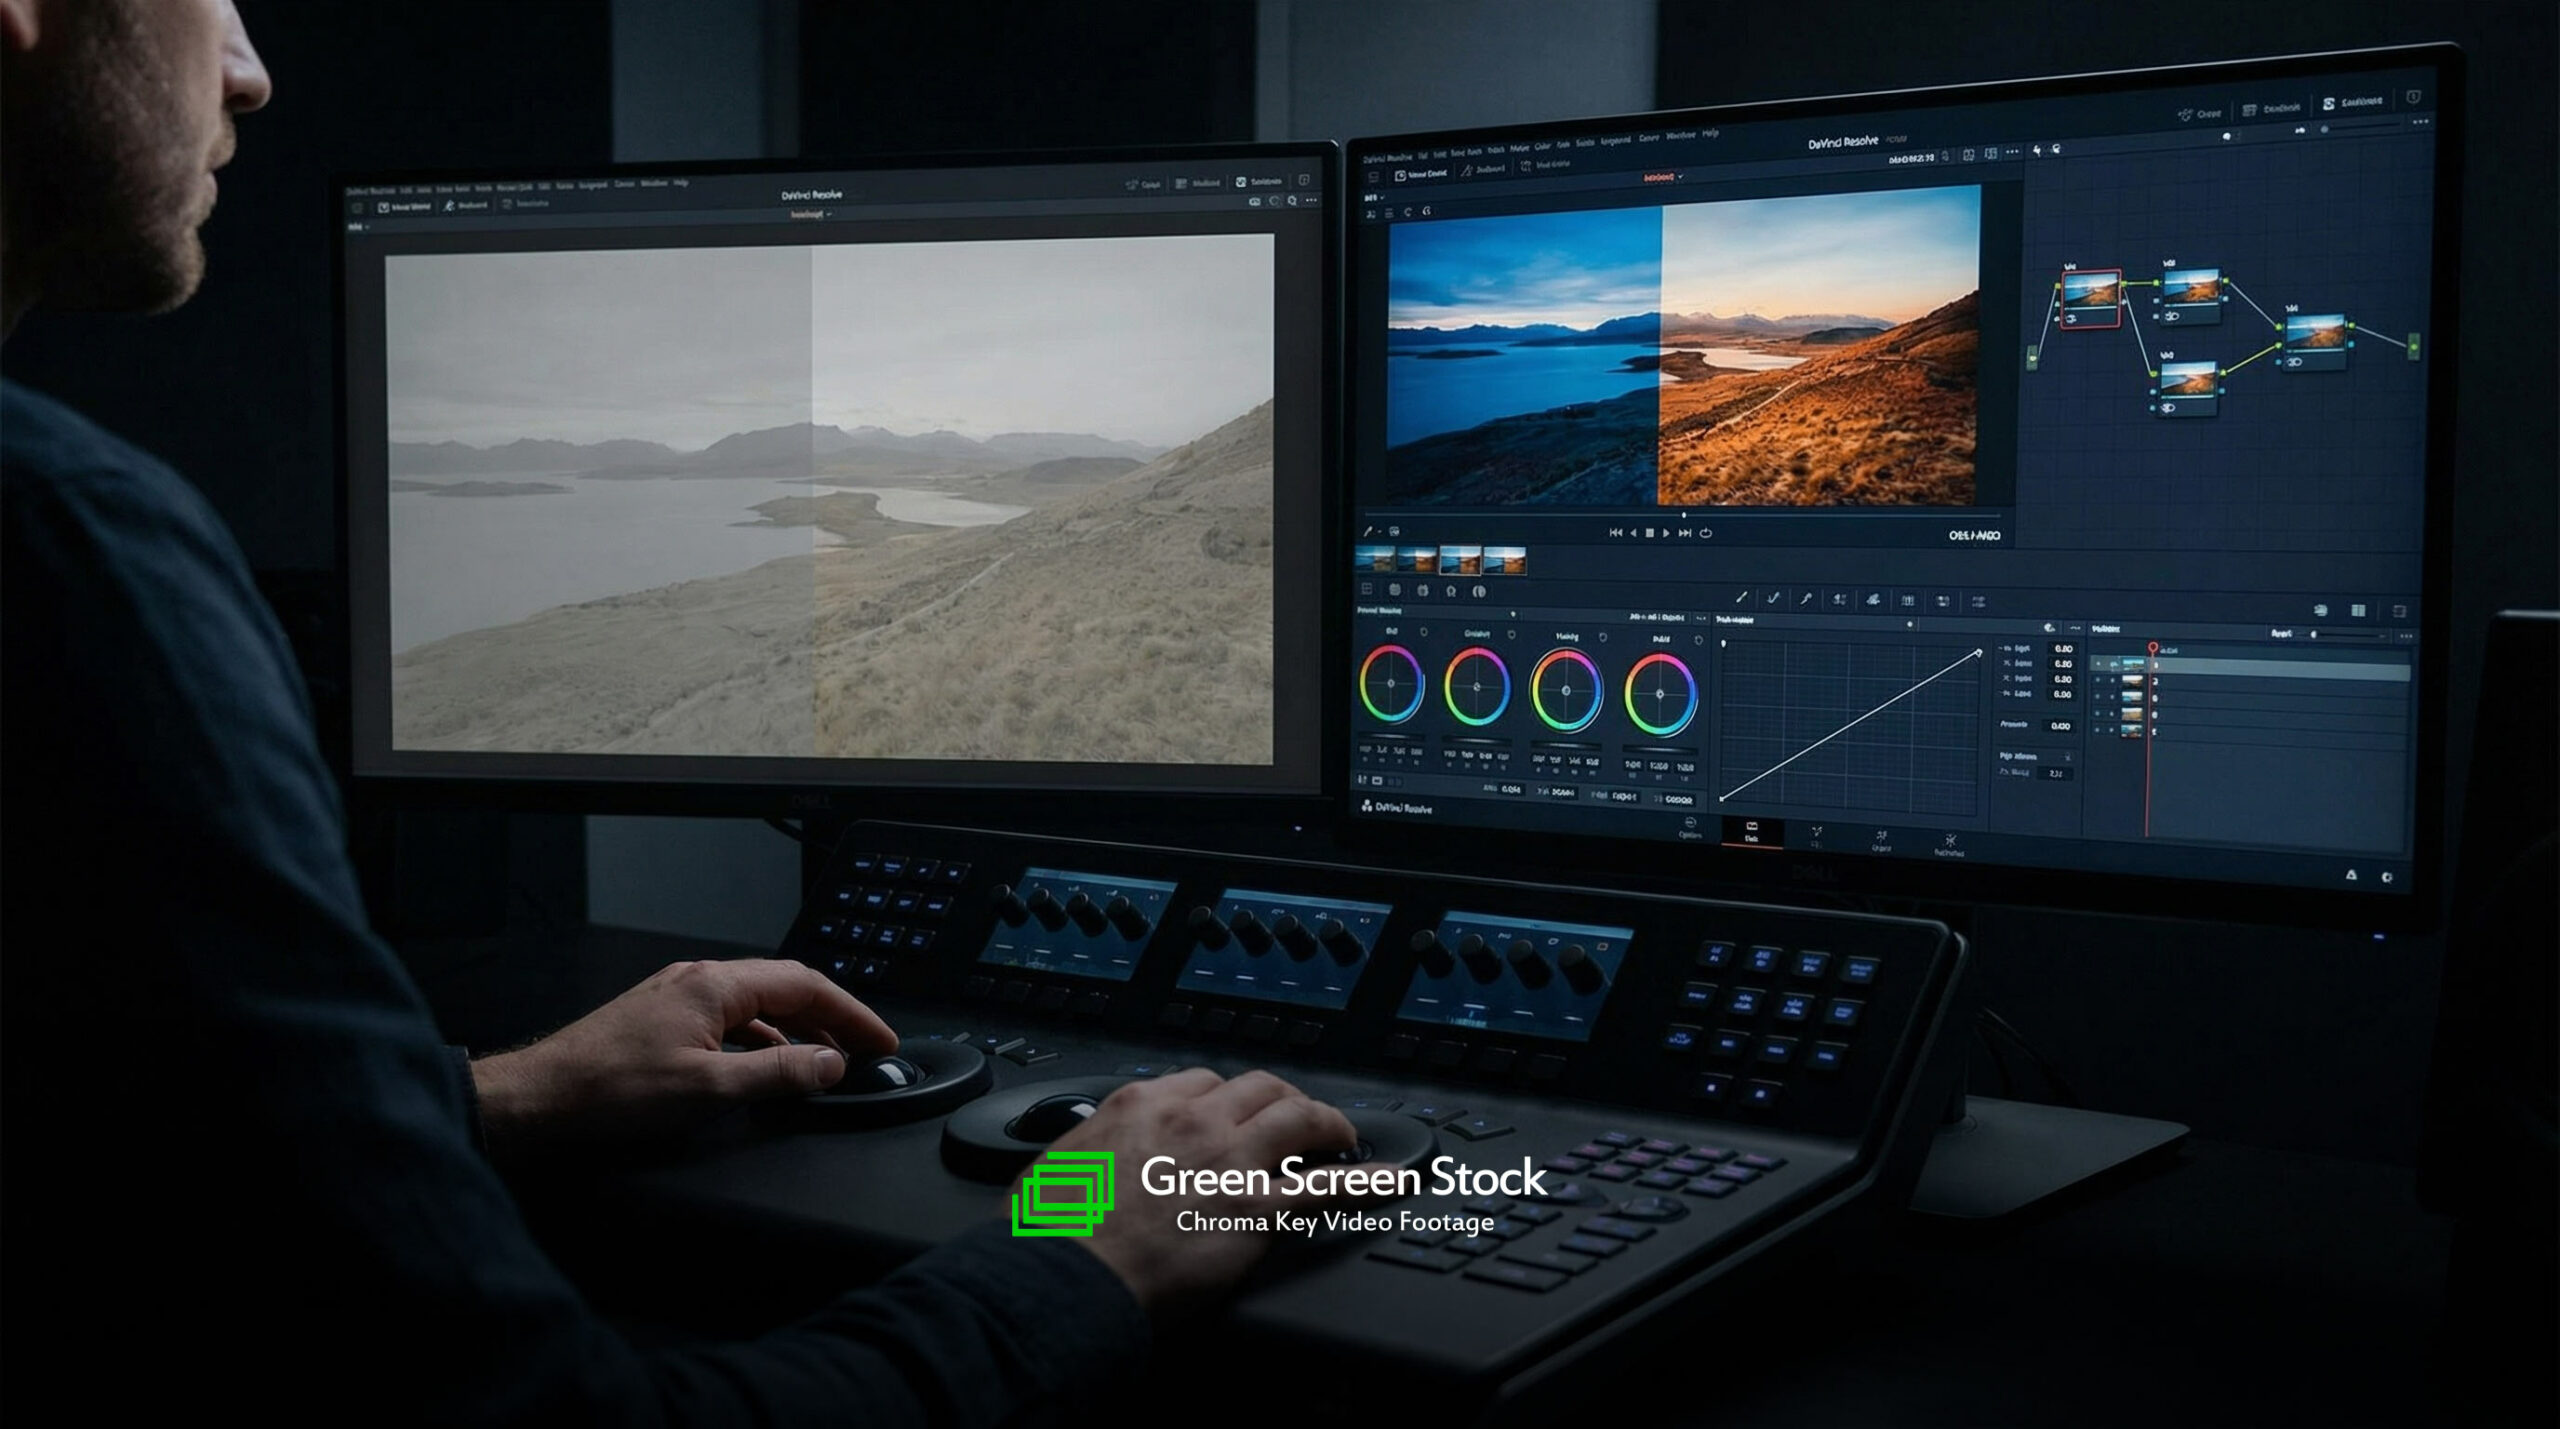
The heart of color grading lies in the ‘Color’ tab. Here, you’ll find a wide array of tools for color correction and creative color grading. The primary tool is the Color Wheels, which allows you to adjust the shadows, midtones, and highlights of your footage. The ‘Color Match’ feature allows you to match colors from one shot to another, while the ‘Color Warper’ gives you the ability to manipulate the colors in your image in a highly visual and intuitive way.
The ‘Curves’ tool, on the other hand, enables you to make precise adjustments to the luminance and color of your footage. You can manipulate the red, green, and blue channels separately or collectively.
Next, you have the ‘Nodes’ feature, which is essentially a flowchart representing different color grading operations. Nodes in DaVinci Resolve offer a flexible and non-destructive way to build complex color grades.
Lastly, you have the ‘Scopes’ feature, which assists you in making precise color adjustments. It includes the waveform, vectorscope, histogram, and parade, which give you a visual representation of the color and luminance values of your footage.
Understanding these basic tools and features is the first step to mastering color grading in DaVinci Resolve. With practice and experimentation, you can use these tools to achieve stunning visuals and take your footage to the next level.
2. “Advanced Techniques for Achieving Stunning Visuals”
When it comes to achieving stunning visuals in DaVinci Resolve, simply having a basic understanding of color grading may not suffice. You need to get familiar with advanced techniques that can help you create truly breathtaking visuals. Here are some advanced techniques that you can use:
1. Using Power Windows: Power windows are an exceptional tool in DaVinci Resolve, allowing you to isolate and adjust specific areas of your frame. This can be used to highlight important parts, downplay distracting elements, or even to create special effects. For instance, you can use a power window to brighten a subject’s face while leaving the rest of the scene unchanged, drawing emphasis to the subject.
2. Working with Log and RAW Footage: Working with Log and RAW footage can offer much more control over your color grading process. These formats preserve more information from your camera’s sensor, providing a wider dynamic range and more flexibility in post-production. It’s particularly useful for high-contrast scenes, as you can push and pull the exposure much more without losing detail.
3. Utilizing Nodes: Nodes in DaVinci Resolve are similar to layers in Photoshop. They allow you to stack and organize different adjustments, and to control their order and combination. This can be particularly useful when you want to make complex changes to a shot. By separating each adjustment into a different node, you can easily tweak or disable them without affecting the rest of your grade.
4. Working with LUTs: Look-Up Tables (LUTs) are a powerful tool that can transform your footage with just a few clicks. They are essentially preset color grades that can be applied to your footage. While they shouldn’t be used as a one-size-fits-all solution, they can provide a great starting point for your own grading.
5. Color Matching: DaVinci Resolve has a powerful color match feature that can automatically grade your footage to match a reference image. This can be a great time-saver when grading shots from different cameras, or when trying to match the look of a particular film or TV show.
6. Advanced Noise Reduction: Noise can be a major issue in low-light footage, but DaVinci Resolve offers advanced noise reduction tools that can help. These work by analyzing the noise pattern in your footage and then removing it, without affecting the details of your image.
By mastering these advanced techniques, you can take your color grading to the next level and achieve truly stunning visuals in DaVinci Resolve.
3. “Mastering the Art of Color Correction in DaVinci Resolve”
Mastering the art of color correction in DaVinci Resolve is a crucial skill for any filmmaker, cinematographer, or video editor. This post-production process is essential for achieving stunning visuals and can significantly enhance the overall look and feel of your footage.
The first step in mastering color correction in DaVinci Resolve is understanding the color correction tools available in this software. The Color Page in DaVinci Resolve provides an array of powerful tools and features for color grading and correction. These include the Color Wheels, Curves, and Scopes, which allow you to adjust the color balance, contrast, saturation, and other color aspects of your footage.
One of the most powerful tools in DaVinci Resolve is the Color Wheels. These include the Lift, Gamma, and Gain wheels, which allows you to adjust the shadows, midtones, and highlights of your footage, respectively. The Offset wheel allows you to adjust the color balance of the entire image. By mastering these four color wheels, you can drastically improve the color balance of your footage and achieve a more cinematic look.
The Curves tool is another essential feature for color correction in DaVinci Resolve. This tool allows you to adjust the color and luminance values of your footage with great precision. By manipulating the RGB curves, you can correct color imbalances and enhance specific color ranges in your footage.
Lastly, the Scopes in DaVinci Resolve provide a visual representation of the color information in your footage. These include the Waveform, Vectorscope, Histogram, and Parade scopes, which help you accurately analyze and adjust the color, saturation, and luminance levels in your footage.
On top of these, understanding how to work with Nodes, which are the backbone of DaVinci Resolve’s color grading workflow, is also key. Nodes allow you to break down complex color grading tasks into smaller, more manageable parts, and create various color correction effects.
Mastering color correction in DaVinci Resolve also involves understanding color theory and developing an eye for color. Knowing how different colors interact with each other and how they affect the mood and tone of your footage can help you make more informed color grading decisions.
Training your eye to spot color imbalances and inconsistencies in your footage is also essential. This involves regularly analyzing your footage and making necessary color adjustments until you achieve your desired look.
Color correction is a skill that requires practice to master. By taking the time to understand the tools and features in DaVinci Resolve, studying color theory, and regularly practicing your color grading skills, you can master the art of color correction and achieve stunning visuals in your projects.
4. “Practical Tips to Enhance Your DaVinci Resolve Color Grading Skills”
Color grading is an essential aspect of video production that can significantly enhance the visual appeal and storytelling power of your content. If you’re using DaVinci Resolve, a professional color grading software, here are some practical tips to improve your color grading skills:
1. **Learn the basics:** Understand the fundamental concepts of color grading such as exposure, contrast, saturation, and color balance. Familiarize yourself with the color grading panel in DaVinci Resolve and learn how to use the color wheels, curves, and other tools effectively.
2. **Use Scopes:** Scopes are fundamental tools in color grading that help you accurately read the information in your image. DaVinci Resolve has four main scopes: Waveform, Parade, Vector, and Histogram. Learn how to interpret these scopes to make precise color adjustments.
3. **Start with Corrections:** Before you start with creative grading, make sure to correct any issues in your footage like overexposure, underexposure, or color imbalance. DaVinci Resolve has robust tools like the Primary Wheels and Log Wheels to help you correct these issues.
4. **Master Nodes:** Nodes are like layers in Photoshop, allowing you to stack adjustments and control the order of operations. Understanding how to use nodes effectively can significantly improve your color grading process.
5. **Use LUTs Wisely:** Look-Up Tables (LUTs) can be a great starting point for your color grade, but they should not be the final look. Understand that every footage is different, and a LUT that works well on one shot might not work on another. Use LUTs as a guide and make necessary adjustments to achieve the desired look.
6. **Practice Regularly:** Like any other skill, color grading requires regular practice. Dedicate some time every day to grade different types of footage. Over time, you’ll develop a better understanding of color theory, how different colors interact with each other, and how to create a specific mood or style with colors.
7. **Never Stop Learning:** The field of color grading is constantly evolving with new techniques and technologies. Keep yourself updated by attending workshops, reading books, watching online tutorials, and joining online communities of colorists.
Remember, color grading is an art. It’s subjective and varies from project to project. What matters most is that the color grade serves the story you’re trying to tell and enhances the visual experience for your audience.
In conclusion, mastering color grading in DaVinci Resolve is a blend of understanding the fundamentals of color theory, applying advanced techniques, and constant practice. Enhancing your skills in DaVinci Resolve not only helps you to achieve stunning visuals but also improves your overall video editing craft. Following the practical tips and mastering the art of color correction will enable you to deliver professional-quality work. The essence of color grading is to enhance storytelling through visuals, and with DaVinci Resolve, you have all the tools you need to achieve this. Keep experimenting and practicing, and soon, you will be creating masterpieces with this powerful tool.